TITAN servo controllers are able to work with many different types of motors. Using TITAN servo technology to control your ball screw stage actuator is an effective solution for powerful and intelligent motion control.
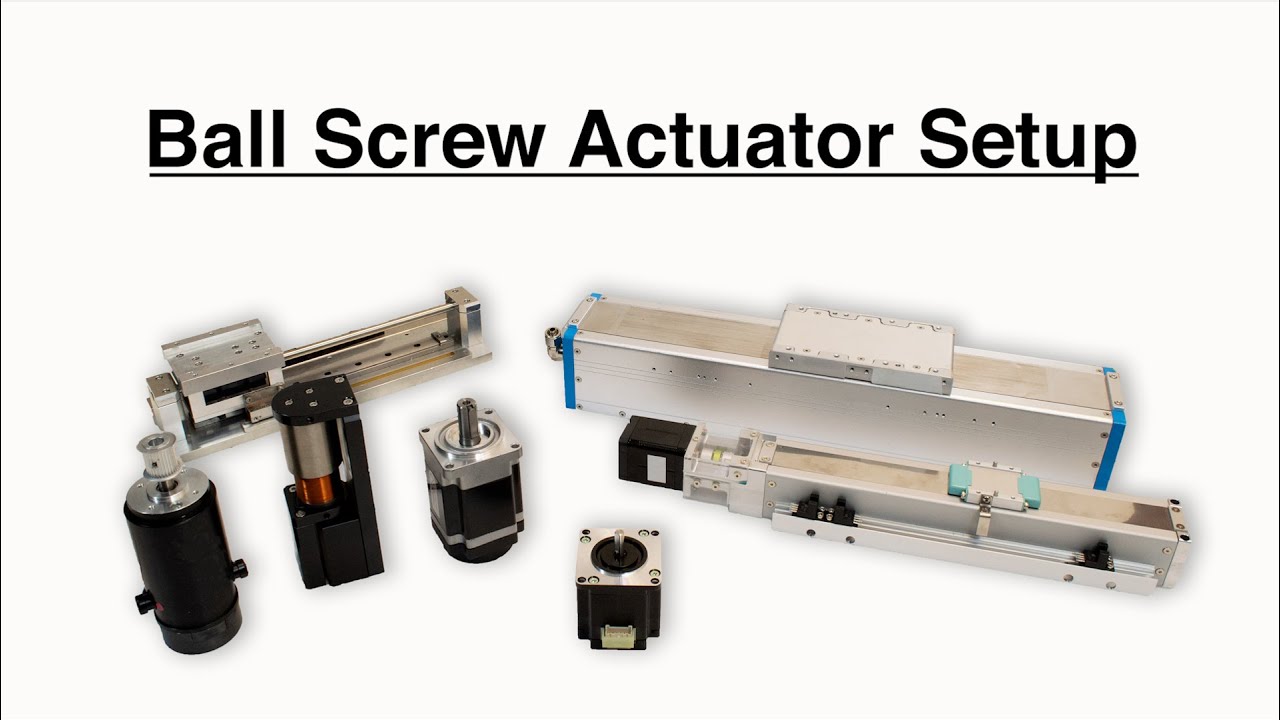
In our tutorial video, we use a TITAN-SVX-ET2 with a ball screw stage actuator powered by a stepper motor.
To begin, go to the motor setup window and open the previous motor database to download the parameters. If you do not have the motor database, check out our MOTOR SETUP TUTORIAL for more information.
Since our motor is connected to a linear actuator, we need to determine the new inertia and friction values. To do this, open the Tuning window.

On the Tuning page, manually enter the new inertia and friction values or use the automatic detection routine. To use the auto detect feature, click the "Auto Detect" button and check the acknowledgement box to proceed.
Set up the soft limits. You can either disable the motor and manually move the motor to set the limits or enable the motor and jog it to set the limits. In our video demo, we use jogging to set up the limits. When jogging, make sure to use a slow speed and avoid hitting the hard stops.
Click "Enable" and set the velocity to 100 and the acceleration to 3000. Jog in the negative direction to set the minus limit and jog in the positive direction to set the positive limit.
Press the "Enable Soft Limit Check" box and click next. Set the move acceleration value to 20000 and leave the other values as is. Now we are ready to perform the auto detect routine to get the new estimated parameters.
You will see the new Inertia, Viscous, and Coulomb Friction values. Click apply and run again to get a new set of values.
Generally, the higher the acceleration value, the more accurate the values will be (although the motion may be jerkier). Also note that while inertia and friction values are estimates, the servo control with proper gain and filter settings will compensate for any deviations.
Once you have completed the auto detect routine, go back to the "Test Drive" window to disable the soft limit and run some jogging tests. You should see that the direction of the motor is running opposite to what we want, so let's go to the Configuration screen and change the direction of the motion.
Move the position near the motor end, and set the value as zero by double-clicking on the current position and entering zero.
Move the position to the other end of the motor. This position range should have a value of around 200,000.
Perform target moves by entering the two end positions and moving between positions 0 and 200,000.
Double click on the chart. Check the two target positions and the speed. Click the cycle motion button to automatically generate a motion program for moving between positions 1 and 2.